This weekend's work was focussing mainly on the bolts that hold the chassis to the bodywork. My recent trip to the Stoneleigh Classics show had allowed me to purchase a shiny new Impact screwdriver with which to remove some of the stubborn little bolts that didn't want to leave the bodywork in a hurry!
 |
| My new favourite tool! |
The first order of the day (and possible the easiest) was to remove the side trim panels that run under the doors between the wheel arches. The impact driver was used on all these bolts as they were rusted so a couple of hits with a rubber mallet (ensuring no damage was done to the driver or the bodywork) and these would each be free.
 |
| One of the first of three under rail bolts being removed. |
There were three bolts on the underneath of the rail, again using the rubber mallet I was able to remove these with relative ease using the driver.
 |
| The rear most bolt on the trim panel |
After the three bolts on the underside were removed, the trim panel basically comes away from the body work revealing a further set of body/chassis screws going in from the side into the chassis. these were quite rusty too where the water has got in from underneath.
 |
| Removal of the trim panel. When I re-assmeble, I am replacing this panel with a nice stainless steel one to tie in with the chrome elements of the exterior. |
 |
| Trim panel removed note the rusty chassis bolts here. careful work with the impact driver required. |
I set about removing the rusty bolts in turn, ensuring that the driver wasn't hit too hard to avoid bending/damaging the bodywork.
 |
| Again use of the rubber mallet allowed a great deal more control and 'restraint' while effecting this operation. |
Eventually all these bolts were removed and I worked my way down the otherside of the car. these were fairly difficult as I don't have as much room on the other side of the car.
 |
| Almost removed Passenger side Trim panel (front wheel to the left of the picture). |
All these bolts were removed from the passenger side also, so set about removing some troublesome bolts in the cabin area. mainly three bolts in the drivers footwell, and all four from the passengers side of the car.
 |
| Passenger footwell right hand side Base chassis bolt. |
These footwell bolts were rather tricky to undo as it required a bit of flexibility from myself in terms of getting myself into positions to get at them! I was able to go in from the top of the passenger footwell, the drivers side was a little more difficult.
I went on to removing a couple of in dashboard bolts (only managed one as the steering wheel side one meant I couldnt get the hammer and impact driver in to do this.
 |
| Chassis bolt next to heater inlet/outlet |
 |
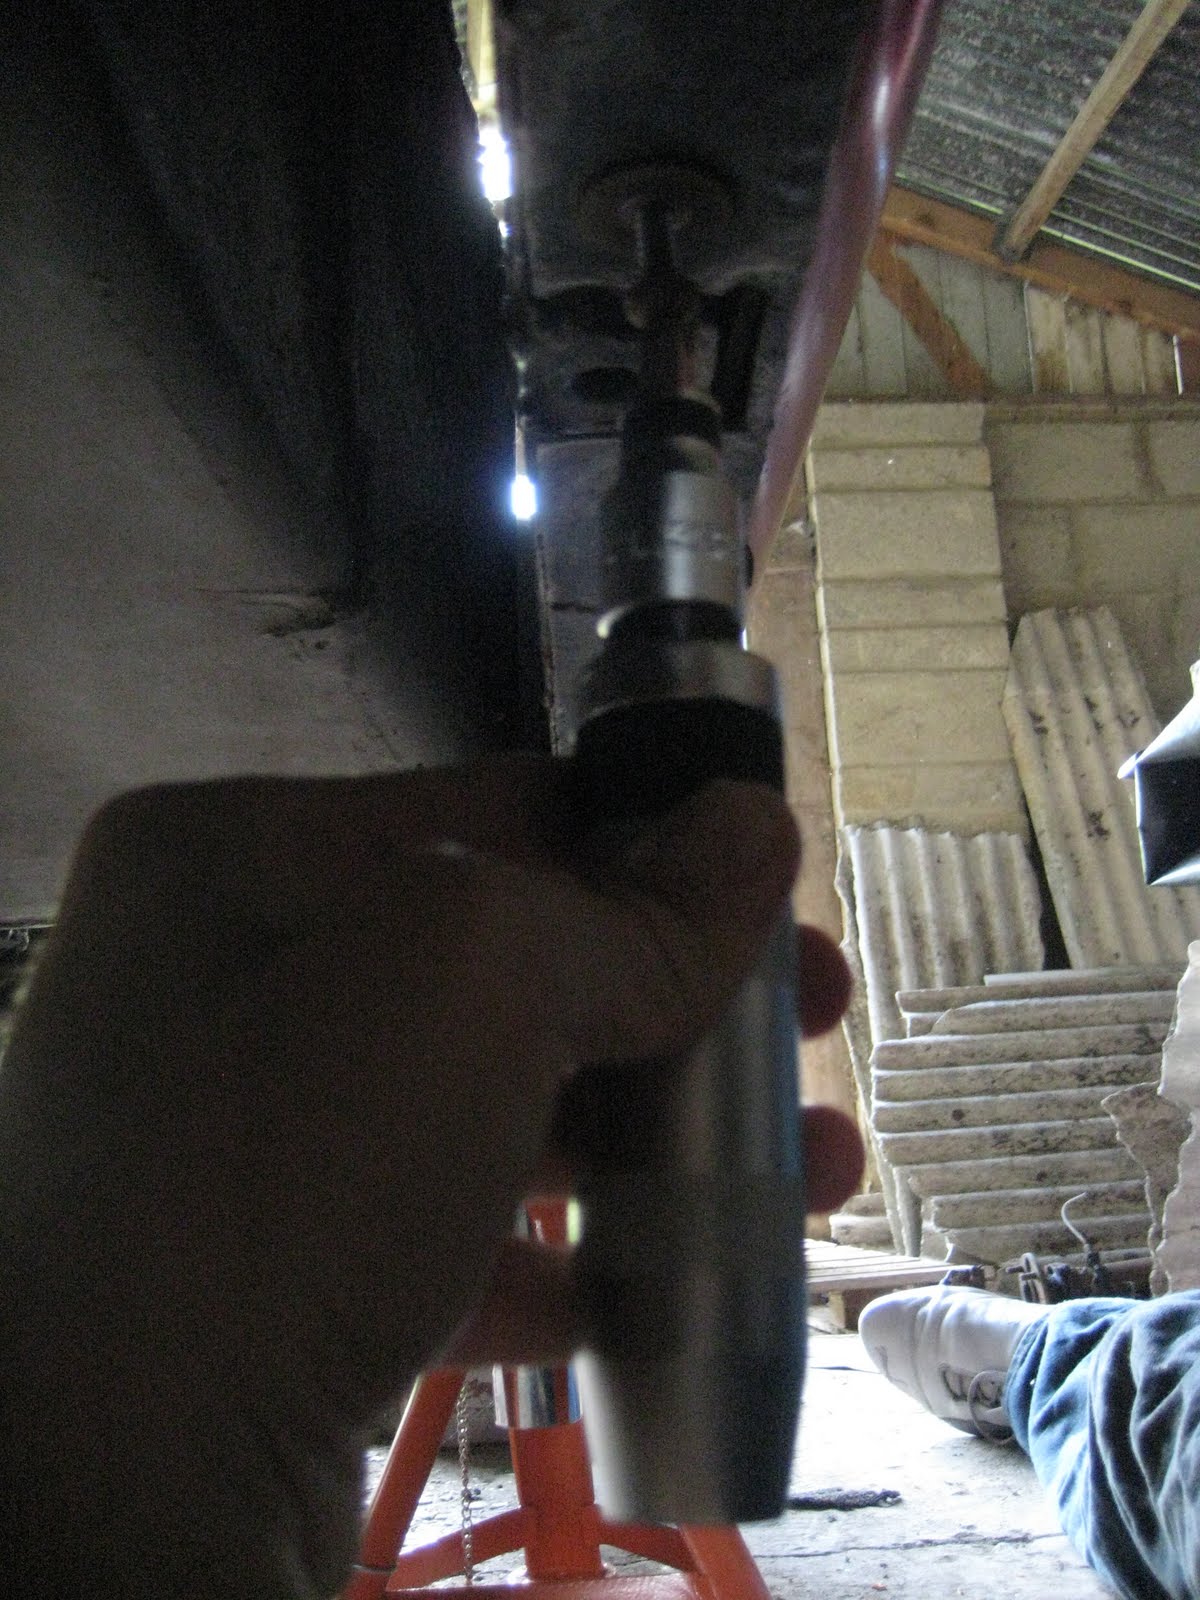
| Suspension mounts for the rear wheels. |
After I had removed these chassis bolts I went on to remove the Rear suspension mounts that hold the rear suspension setup in place. these bolts were quite hard to remove that heads aren't particularly large so it was rather easy for the spanners to fall off the bolts.
 |
| Suspension mounts from within the wheel arch. (passenger side) |
A bit of WD40 was needed to loosen the bolts up so that I could start turning them, again the exposed chassis rails loooked good in these exposed areas. I was able to lodge a spanner in the wheel arch to grip the bolts as it would have taken something extraordinary for me to bend myself into a position to hold the spanner and turn!!
 |
| Passenger side suspension retaining bolts removed. |
At this point the retaining bolts have been removed from the passenger side, and one of the bolts (top most bolt) have been removed from the drivers side. I had a great degree of difficulty trying to remove the bottom bolt as this was hard to get a spanner onto and wouldn't move, help required on this one. There are also two bolts in the rectangular area (visible here) that I cant get to as they are a way forward that I cant stretch to, to get any purchase on the impact driver. once these are out all bolts holding the rear of the body work to the chassis will have been removed.
 |
| Car as it is at the moment (Slowly but surely this body is getting closer to removal!) |
Well I thought I'd finish on a high at this point so I will upload a bit more next time I'm over to work on the car.
Gazza.


No comments:
Post a Comment