13 March 2011

Weekend 13-03-2011

After a long absence from the shed, I have gone back in to try to solve a couple of the niggles that will prevent me from taking the body off in the near future.
First off, I looked into the cabling that runs to the door (when closed this cable run connects a push switch that turns the interior 'door' light off) I managed to remove the cabling on both sides here, so at least the main loom isn't connected to anything in that area now.
The next problem to tackle was why the cabling still wasn't coming out of the drivers side of the dash, I found very quickly that the main loom was looped around the pedal box adjuster stalk. Unfortunately I had forgotten to charge the main camera, so had to use my phone. see pictures below:

So with this apparent the stalk had to come out of there! The pedal box needs to be removed before the body can come off ass the pedals come down through the fibreglass into the footwell so I began by loosening the main retaining bolts keeping this unit securely fastened to the bulkhead.

Screw used to pull the pedals back and forth, looking toward to the bulkhead on the drivers side where this passes through to the console.
 
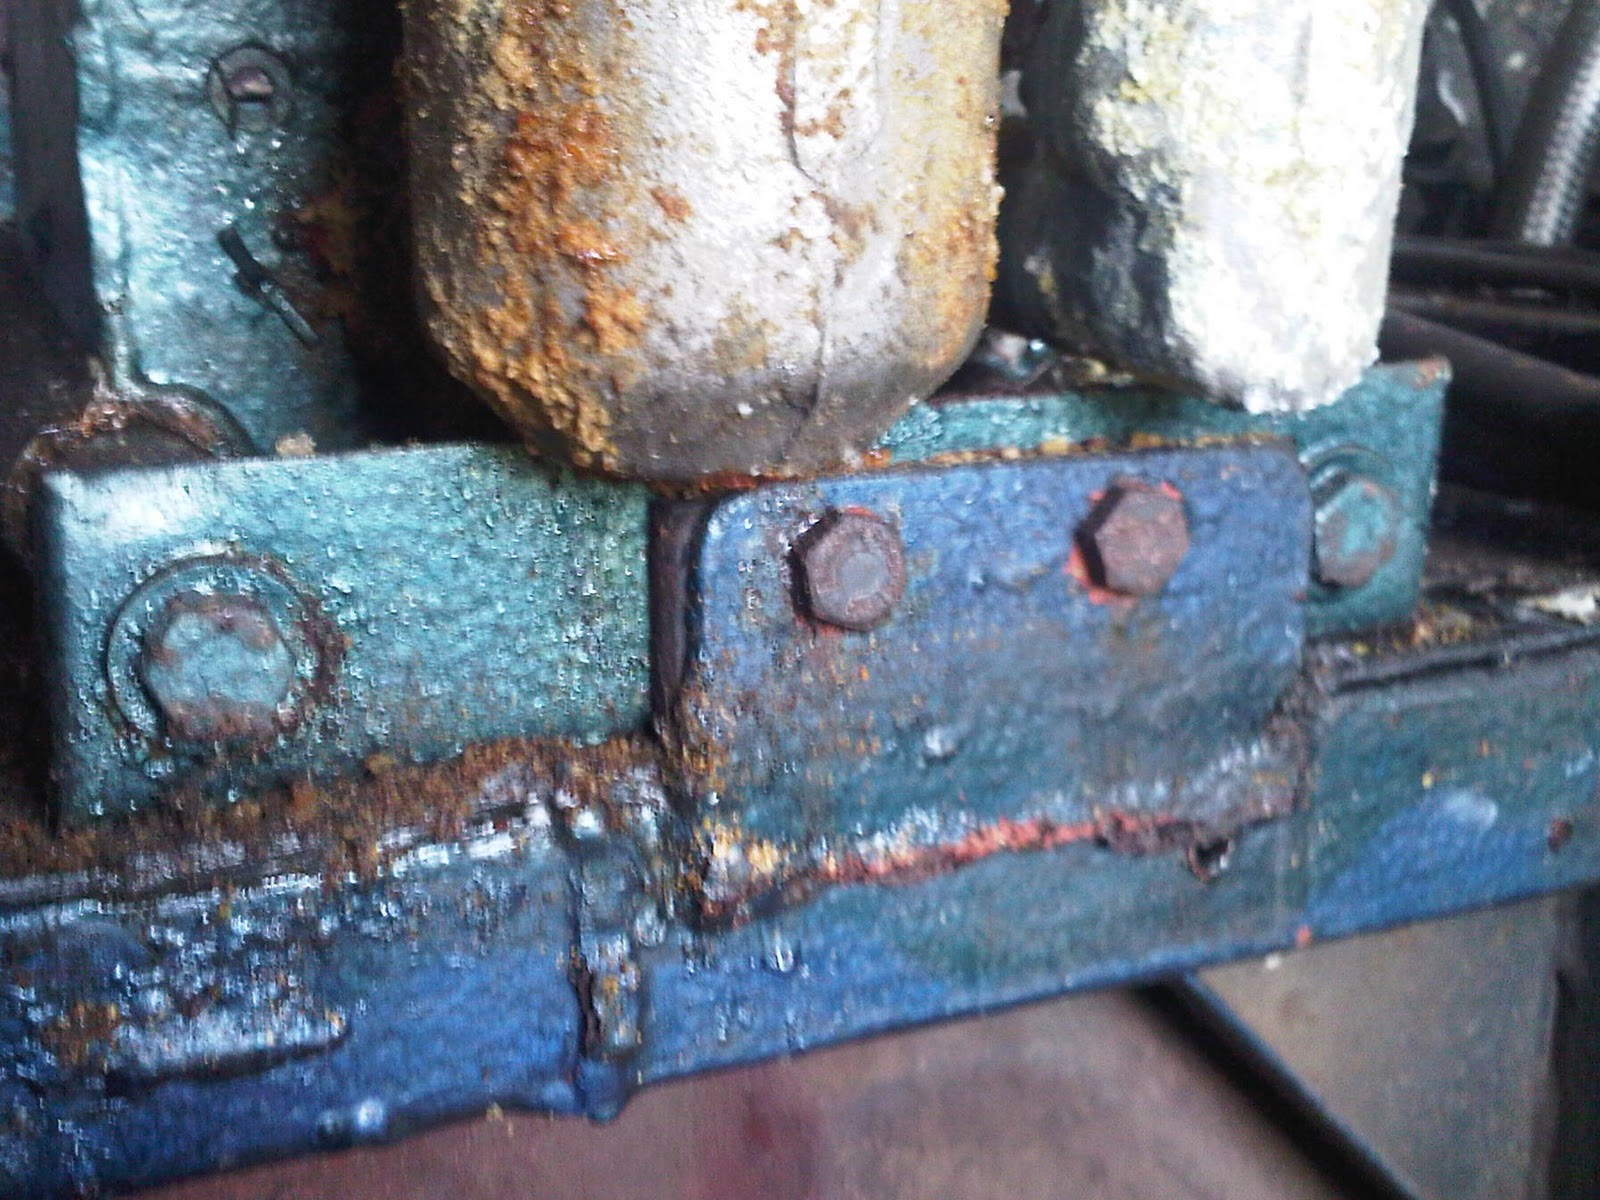
Because most of the fluids have escaped from the slave cylinders at some point or another, lots of crystalized gunk has formed on pretty much everything in this area and most of the bolts that connect cables to this box and box to the engine bay, have been obliterated by the fluids and as a result have rusted solid.
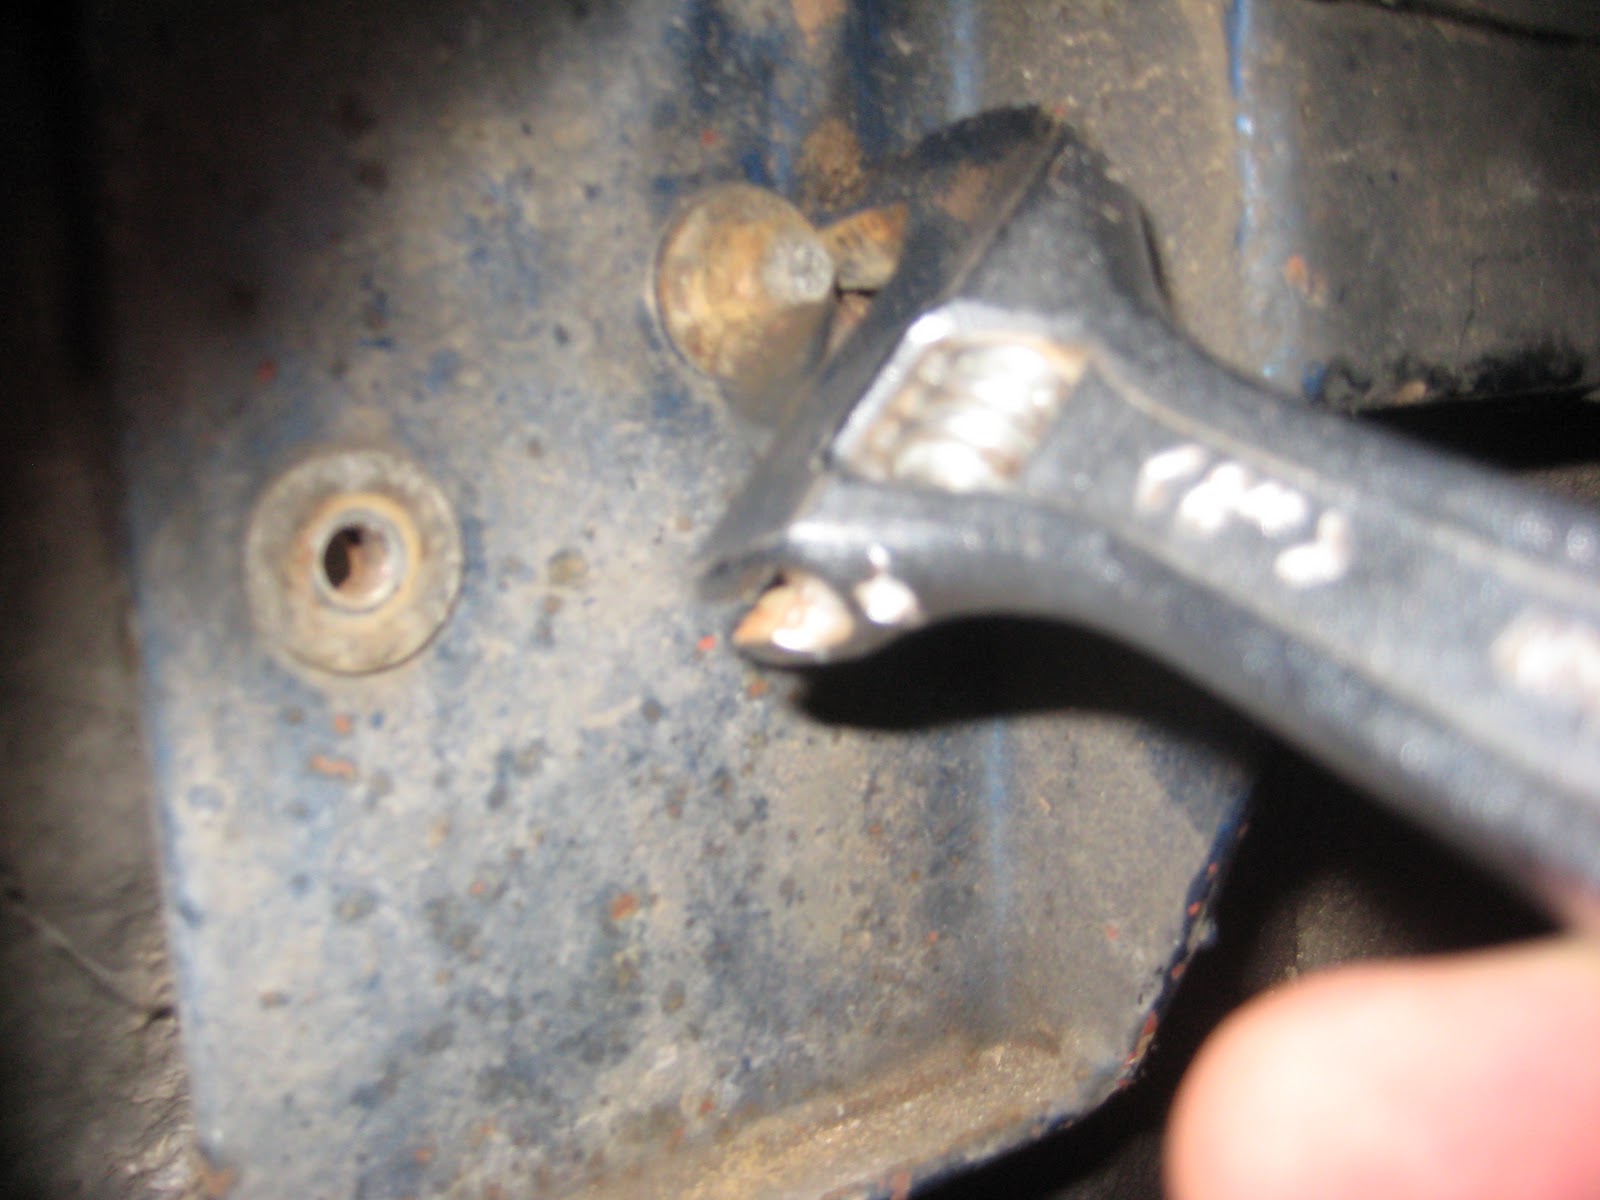
The pictures below will help to describe the process I used for taking them off, this was done by using a small spanner on one side to hold the bolts in place, while another was used to loosen the outer bolts, other wise the whole thing will spin around without any result.

Slave cylinders toward the top right of the picture are covered in corrosion and crystalised fluid

Note the two rusty bolts L&R (taken from inside the driver footwell) these had to be held in place while spanner turning was carried out on the top side.
Started to remove this clamping, but later on replaced as we had trouble finding a 'stop point' for the stalk.
At this point we managed to get the stalk out (I had enlisted my step dad to help) as it had become difficult trying to bend myself into various shapes to get to bolts but nonetheless the stalk was out and  this meant we could take out the wiring loom from the dash on the drivers side.
I've never seen it looking so tidy!!! driver's side part of the wiring loom has been pulled through the middle of the car. I am not looking forward to placing this wiring back in the car believe me!!!
The next problem visible is the Heater unit, this has a hose running to it from underneath the dash feeding up behind the engine (Making that impossible to move also!!). see piccy below.
At this point as I had managed to remove a great deal from the car, I decided to go indoors on a high! as advised. next points I wish to tackle are the removal of the heater, plus a few other pieces on the car in preparation of the 'Body-off' event.

01 February 2011

Weekend 30/01/2011

Following the removal of the fuel tank on Saturday evening, I took some photos of the fuel tank which in the light of day looks like it could be better!!! I'm not sure whether I can continue using this one by this one repaired? I'm sure those more knowledgable on this than myself will let me know!

It does have a lot of corrosion on the edges and parts of the seam are flaking off! I have taken a number of shots from different viewpoints.


It doesn't look great, but I will make some enquiries as to whether it is still serviceable or not!

In the light of day I thought I'd grab a piccy of the car up on the stands, (I know the right hand one looks a little skew wiff but it was safe as we shook the car vigourously and nothing moved or shifted).


Here is a picture of the alcove where the fuel tank normally sits, it's quite surprising as to how small this is!

Alcove shot, note the fuel line hose to the bottom left hand corner of the shot, I disconnected this after the shot was taken and stored the hose with the rest of useful hoses I have gathered from the car.


Another shot above of the rear part of the car the differential, the exhaust boxes and a lot of blue chassis rails are visible here, the exhausts looking the worst parts!! I have fingers crossed about the chassis sections I can't see yet, as water ran out of the top rail where the roll bar was connected to!

At this point I turned my attention to the pedal boxes, as there were a few chassis/body retaining bolts that had to be removed (4/5 in each, 3 of which I just couldn't remove as I couldn't get my arm in far enough to get any decent purchase on the bolt, the screwdriver and electric screwdriver kept jumping out of the top of the bolt and I didn't want to ruin the head of the bolt (or the surrounding fibreglass), there are enough holes in the fibreglass to repair already!


Top right behind the accelerator pedal (above), and the three bolts along the floor in the picture (below) are the retaining bolts holding this footwell part of the body shell to the chassis. This is another area that needs to be taken out of the car before chassis removal, as It may stop me getting the body off.


This does look pretty nasty in here! once I can get in, I will get everything cleaned out thoroughly.


The last rear cabling loom (just before I seperated the connector plug). all the rear lights, fuel level sender, boot lid lights all wire through this loom.

That about concluded what I could do this weekend, so I locked up again for 'goodness knows how long' this time! More soon......

Weekend - 29-/01/2011

It has been over two months since I tackled the car (owing to sub zero temperatures) working in a shed that might as well be open air was not the kind of weekend I had planned for myself during this time!


There were a lot of loose ends to tie up this weekend (literally), small pieces that needed disconnecting before the chassis and body are seperated from each other.
I started with the cabling, which still had a couple of connections to remove, whilst most of the dashboard is now disconnected from the main feed, cables still run to these push connectors mounted in the door which either form a connection to the alarm system, (fitted) or the door lights?

I managed to disconnect one, but the drivers side is proving nigh on impossible to unscrew!!


Remaining cables going to the front of the car this is inside the dash unit the wiper motor assembly mainly disconnected now, is held in place purely by the jets poking through the top of the shell, and the rod running through the behind the bulkhead of the body shell.
The heater unit (just right of this image) won't budge at the moment, as a hose coming up from underneath is connected and doesn't allow much movement.

View of the Wiper rod arm, just above where the Steering rack would have gone through the fabric flange on the bottom right of the image. You should just be able to make out the hole in the back of dash unit where this rod passes through to the centre & passenger side of the dash.

Not having much joy with this unit, I took the cables and disconnected them from the rear of the car, there are now no electrical cables to the rear of the car, as I have isolated the connectors that are positioned just behind the bulkhead below the fuel tank, at this stage the fuel tank is still in, but help arrived later on in the form of my step dad to assist in jacking the car up and being there whilst I attempted the job I dreaded, of being under an otherwise low ground clearance car, with the diff and most of the rear struts and exhaust staring down at me!
The fuel tank has three bolts arranged in a triangular formation inside the boot that one person has to turn and one person (me underneath) has to offer a wrench uip to to hold the retaining bolts in place or these will just turn forever!  once undone, the L shaped plate comes out first and the fuel tank can be pulled out of its alcove under the parcel shelf.


Whilst I had the car in the air, I took the opportunity to capture the condition of the chassis and inner most workings on camera.....and boy was I surprised!!!!!

I pointed the camera forwards and caught an excellent shot of the gear box!! this looks immaculate (not sure if this item was ever removed but it is the 4 speed with overdrive unit that normally adourned Marcos V6's of this period.

Afew more shots below that show more of the Chassis and the rusty exhausts (the only items I can see apart from the diff that are rusty underneath!

Most of this surface dirt comes off to reveal a blue painted chassis, (I did get some in my eyes too unfortunately but I washed them out with water)
Another gearbox shot with the exhaust running to the left of the image (looking towards the front of the car).
By this time it was nearly 6 o'clock and pitch dark outside so after we had drained 1 red plastican petrol container-and-a-half from the fuel tank, we went inside. This car has had fuel in it for at least 12 years! so lord only knows whether it is Unleaded, LRP, or residue four star? It can't be very good fuel by now, (we'll try it in the mower and see how it does!).

29 November 2010

25th/26th November 2010

Well, it has been a while since I set foot in the garage, owing to other commitments..so here goes. The main focus of work this week was to try disconnecting the electrics and take out as much stuff as I could that would hinder the removal of the bodywork.

Dad came up to help out with this and after a minor hold up with the phone engineers We set to with stripping out a few components that were running through the bodywork to the engine bay.
starting with the steering wheel, this needed to have one clamp removed from it on the other side of the bulkhead, (Engine side) the 5th picture down below shows some of the removal process.
We also took out the gauges and drew up a diagram for the resulting cable removal.
during the process we found that most of the switches have been damagedas the back sections that house the pins for cable connectors have come apart. These cannot be repaired and will need replacing when I hit an autojumble next. Mine in particular are Jaguar. Also removed were the various dials on the dashboard.
You can see tha switches that are damaged (most of them!) except for the third on up from the bottom and the one right at the top which still have pins attached to them. This photo should also be another way but the site seems to change it at will, and won't allow me to rotate!!
Loosening the drivers dash section in order to get the dials out. Another photo the site won't let me change!
I liked the retro appeal of this instrument, it has astalk on it for zero-ing the trip counter! this has an outlet in the lower dashboard for operation by the driver. You can see that this car has racked up an amazingly low mileage in its 40 year lifespan so far!
The leather cone shaped hole is for the stalk on the odometer to go through for the driver to operate. this one isnt pushed to zero like standard ones on a modern car, you turn the stalk to zero the counter.


The centre 'Boss' screw has already been removed from the steering wheel end, at this point detailed in a previous post. once this clamp has been removed, the steering wheel and connected rod will slide out leaving just the column itself  in place.

Steering Rack with larger shaft section removed with the wheel
Below is an illustration showing the shaft attached to the wheel:

Ok so moving from here the Dash now looks like this

Wheel removed, the retaining bolts shown against dashboard have been coated with WD40 to loosen up as these were quite badly rusted.


You can now stare down this centre steering column into the engine bay.
From here I moved on to disconnecting the column with all of its indicator and light lever controls. this took some time as even though I applied WD40 to the bolts holding it in place these were still very tight and there wasn't a lot of room to turn the spanners. It is necessary to loosen the rack before the main dashboard panel shown here is removed.
I was able to remove the dashboard panels and framework at this point, leaving the main bulkhead it all attaches to.
The upright pieces of wood are the mountings for the bulkhead this secures the dashboard in place. a series of small flat headed screws hold this item in place.
With dashboard now seperate from the rest of the car I was able to put them all together to give an impression of what this looks like in its completed form. I will use this as a template for the new veneer dash I will be having made specially to fit.

Rear of the dashboard panel
With this now removed It is now much more simple to get at the wiring and heater unit these items I am still to remove but at this point it was getting on in the day, getting colder, and I had some travelling to do the picture below shows the dash board with the fascia removed completely.

Fascia removed from the main ply dashboard carcass. wiring is still a bit chaotic here but is a lot easier to remove now
Next items on the list to remove are the Heater unit and pipes, the internal wiring loom also pictured above, the wiper motor and arm, and last but certainly not least, the Fuel tank (inclusive of fuel!) this will require a jack up of the car for me to get under and remove the retaining bolts. Thankfully dad has got me a shiny new set of axle stands and a trolley jack as an early Christmas present! : )

So Until Next weekend!


05 November 2010

Weekend 25-10-2010

Due to my internet being down I have had to post this some time later than I actually worked!
So, this weekend I got down to a few bits and pieces that i can do (without major assistance) and this started with an unscrewing of the Wiper motor assembly. as the photo below shows, this item is securely bolted to the bulkhead between engine and dashboard/cabin (and is a lot easier to accomplish with the windscreen removed as I have done)

There is a stainless steel retaining bracket that is placed around the cabin side of the unit. the two main bolts have been disconnected but the unit will stay seated in position due to the arm extending across to the drivers side still being held in place by other components (these I cannot remove until other items have been removed).

Retaining bolts for the Wiper motor unit (Engine side)
Wiper Motor, note: the bracket in place below the arm section (Glove compartment side)

Following this I began to tackle the boss and steering rack mountings, a very large wrench is needed here, together with a hammer to knock it loose. if the clamps are loosened along the length of the rack, the wheels will cease to turn when you hit it. (Handy)
 

Because at this point there were several items I wanted to check out, I finished up with this part and left for the next time in order to make sure I have the right things taken off!

Next in line I turned my attention to the body work, the bonnet has still got most of the fixings attached to it still and as I may decide to gently rub down the paint when I reach an impass on something else I decidd to remove some of the external trimming features. Most prominently the bumper mountings.

As the screws holding these in place are so badly rusted, it is almost inevitable that one will have to saw them off. I have used just a junior hacksaw as this is sufficient to get into the small gap and the blade is strong enough to take the strain. On the inside, a piece of 'hosing' not too dissimilar to a hozelock hose acts as a spacer between body and the inside of the fender strip.

The rear 'unseen' side of the fender strip
Looks rather different without those strips!
The Next Task I set to was with the removal of the Marcos Badge, thankfully as most ofthe car is complete, it still has one of the original badges (albeit in poor condition) This Badge can be re-enamelled to new again and is worth it as people are charging anything up to £100.00 for a new Badge!! The Plate will have to be removed soon too to allow for the rub down. The headlights as you can see have become temporary 'parts bins'.

Looking at this image and mentioned before, the surrounds within the light areas are heavily rusted and do break easily, I will need to look for parts from a Vauxhall Viva?? or similar? to replace.

Not sure what the lower indicator light units came from but the ones my dad used are Aston Martin but contain only a single bulb for indicator only this has spots in the same unit. I will probably re-use these to stick to original.

As I am working toward having the body off by Christmas, I removed a couple more metallic objects that will hinder the process these are the door lock units.


The boltsagain did move in their mountings so access to hold the retaining bolts in place had to come from the wheel arch behind.

Note: holding the rear side of the bolts in place while undoing the outside bolt.
Retaining bolts on the rear of the badge
That was about all I had time for this weekend, I am hoping to get back over the next week or so to start labelling up wires for disconnection.

G