First of all, I've been returning to the clean down of the engine, the steering rack and prop shaft. These are all a bit grubby so out came the tin of Gunk and I applied this generously to the parts that needed it, rinse off with a pressure washer and then one more coat of gunk to make sure.
The steering rack was really grubby, its position on the chassis means it collects dirt from road going, and any fluids that have leaked from the engine lump itself (Grease/oil etc). I also had to remove the bushes from the each end of the rack as these are starting to perish they are held on with twisted retaining wire rather crude looking but took me long enough to get the damn things off!
 |
| Prop shaft 'Pre-degreasing' |

The Steering Rack was coated in gunk and wire brushed to the point that oil and grease was dropping off the item, Again the process above has been repeated and a rinse off done.
 |
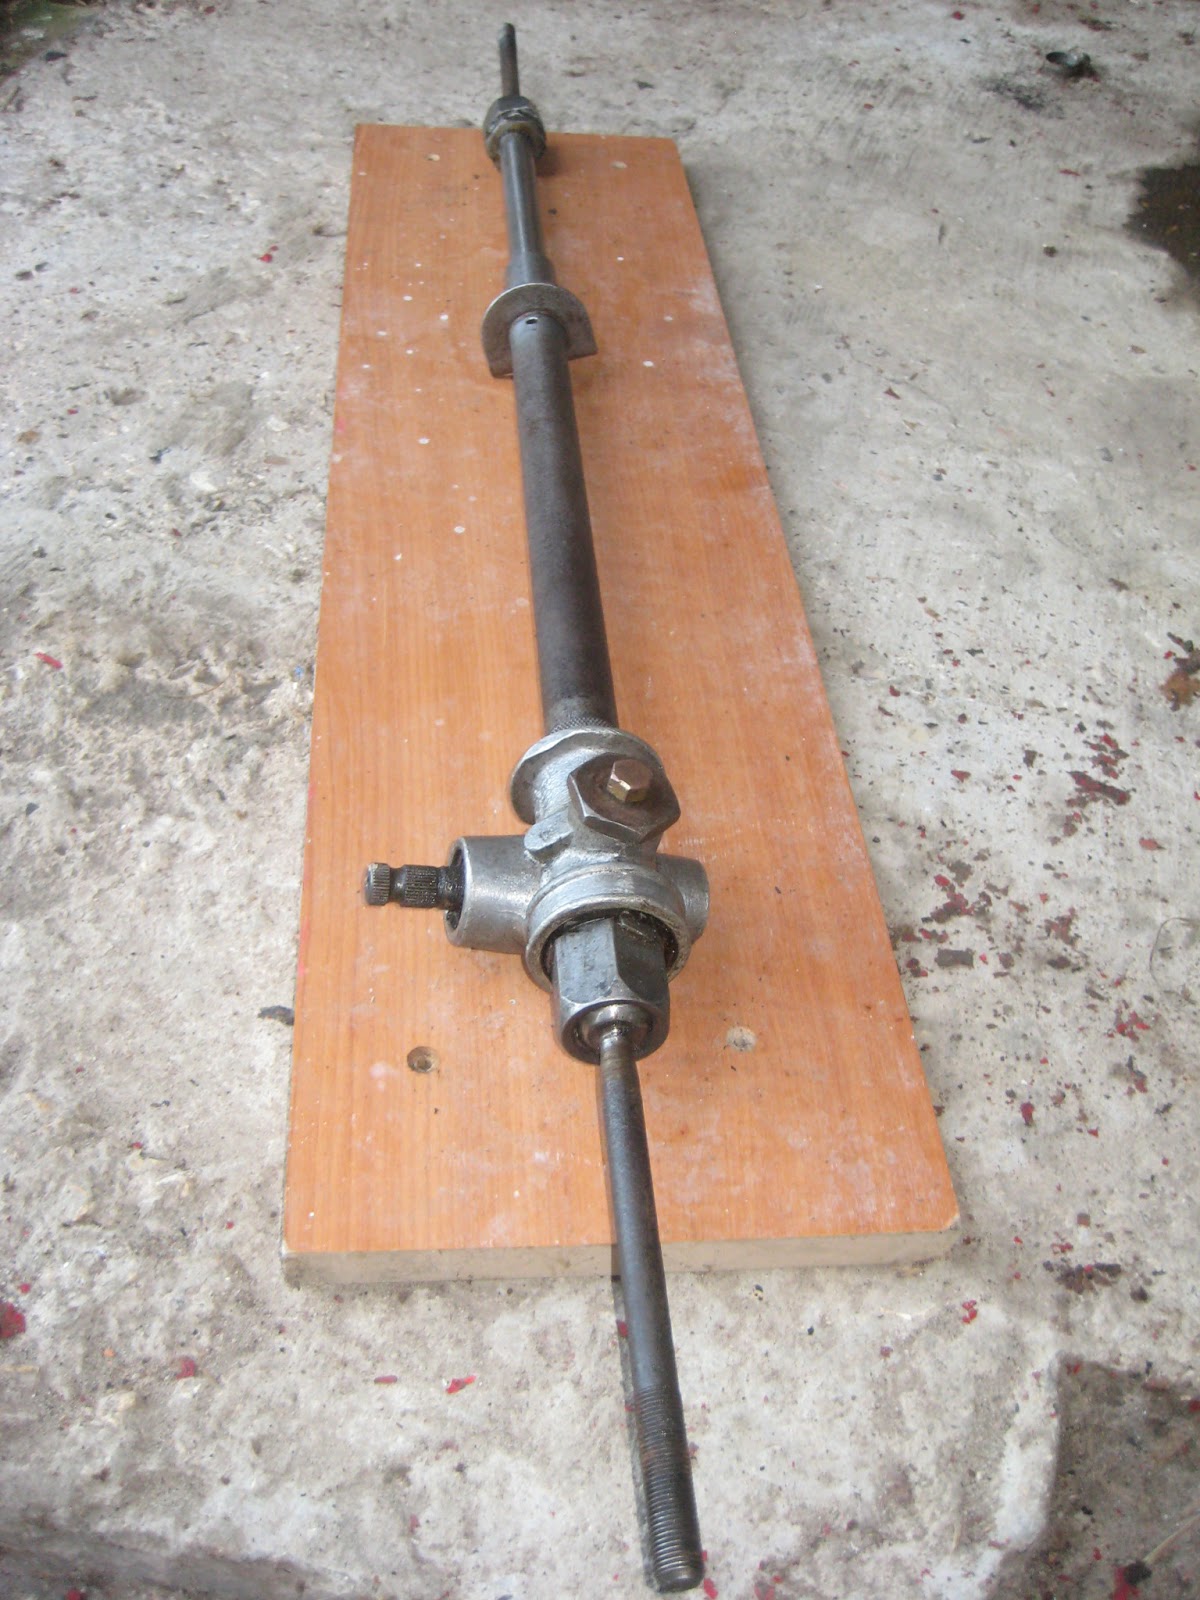
| Wire brushed and degreased steering rack looking great! |


I have now after all the fun and games of these parts arranged the transport of the chassis to be altered, the front end to be re built to the original specification as the modification made before is neither exact nor is it pretty!
Here are some piccies of the chassis out in the cold light of day for the first time in a couple of years.


An eventful and busy couple of weeks will follow as I have some time off booked, to add the bracing to the chassis that will stiffen it up firstly, and then allow a tidier appearance to the front end that will mean I can send it away for the all important shot blast, galvanise and powdercoat that will protect the chassis for many more years and add value in the long term. I dont really want to have to strip this car down again very soon!
No comments:
Post a Comment