Hello! More work accomplished this weekend as I managed to grab some assistance from my dad and set to it without delay! Main camera was dead yet again! stupid forgetful memory!
First off was to prepare the body work and engine bay for body removal as there are a number of irritating things that need to be removed from the car to effect the 'body off'.
We started by fiddling with the electrics, the main wiring loom was still in the car and had really to come out of the car, (Dad inspected the lengths of cable and found that a lot of it has melted the outer flex on the runs of wire, so Its possible that a few metres of new wire will be needed (Dad doesnt know this yet but I want him to help quite a lot on this!)
We made sure that all items were disconnected, eg. old bulbs, switches etc. before carefully feeding this through the hole for the junction box on the bulkhead. (Please see below)
 |
| Disconnected cables from the engine bay have allowed us to take this run from the front end and pull through. |
Once we had carefully removed this, (I'm not looking forward to having to put this beast back in again!) It was great to see it all laid out for inspection. (See also below)
 |
| The business end of my electrics! there are loads of lengths we need to look at as a few of the runs have melted flex, this calls for an 'unwind' of all the unsulation for further detailed inspection before we decide how many runs need to be replaced completely.the power to the drivers and passnger door mirrors could do with replacement due to earlier damage. |
Other dash board bits to remove here include the heating unit that is connected with a jubilee clip at the neck of the hose that feeds under the dash and back up to the bay. I loosened this off and dad pulled the hosing through.
 |
| Heater unit, just visibly the jubilee clip just underneath it (below the white label). |
By now we were making real progress and carried on, there was a deadline to reach as with the Royal wedding that day, (Thanks to Wills and Kate for an extra day off!) we all had to be places so next we tackled the rather tricky windscreen wiper assembly that is quite nicely buried in an awkward position and has to be unscrewed in lots of hard to reach places! I had started a few months ago to take bits off here but couldnt quite complete the job (Dad had this done in under 5 minutes!!!) certainly pays to have someone around who's done it before!!
 |
| Dad has removed the motor unit (Passenger side) and has unscrewed the little bolts on the reverse of the unit to gain access to the 'coil' type fixture inside, that pulls the wiper arms back and forth. |
|
|
 |
| Motor unit removed: note the darker rectangular bracketted area where the unit used to bolt to. |
Once this item was removed, we were able to feed the piping and the arms out through the holes in the dash board. By this time, there is now nothing in the dashboard!! (I will get a better picture on here of the whole thing shown empty when there isnt so much activity in the shed!)
Next items that were quite a pain but a necessity to remove was the Door hinges, I hadnt taken these off with the doors and now I realise why! The bottom bolts on both sides had rusted so badly, that we had to spray them to death with WD40! (smells good though!) We got all but the one bolt out cleanly, the bottom passenger side bolt broke under the stress as it had rusted so badly so part of it is in the door still this will need to be pulled out with some sort of tool.
 |
| Drivers side door hinge removed |
 |
| Removal of top bolts for the passenger side door hinges. note the generous application of WD40! |
|
|
 |
| Hinge removed, (Note the very bottom one has sheared) |
Above are of the passenger and drivers side door Hinge removals, (Note the Blue steel support bars bolted to the chassis that run up through the windscreen frames, apparently it will be good to keep these as it will add strength and rigidity to the screen which by itself is not particularly strong.
Next task was the handbrake, this is bolted on the body tub inside with all the cables connected outside and will also cause a problem when getting the body off, so we removed this dad went under the car to do this and while disconnecting, I heard a gasp! I may have mentioned earlier that I would change my gearbox to a Sierra type 9 (2.8 upwards) Gearbox with 5 speed. My dad has convinced me that I should stick to this one as it is immaculate he was vey surprised when He looked at it, it looks original, looks clean, and has everything in tact. so all I need to do is find a Triumph Gear knob with overdrive switch and I can then use this gear box. both the engine and gearbox will have covered the same amount of mileage (8168miles ) or thereabouts. sounds hilarious I know! I know that a lot of V6 Marcos owners opt for the 5 speed type 9 or MT75 units for their cars so keeping a huge part of this original will be rare and great to see. (See pictures)
 |
| Handbrake removed. |
 |
| My Gearbox (from an earlier post) Dad wasn't wrong! |
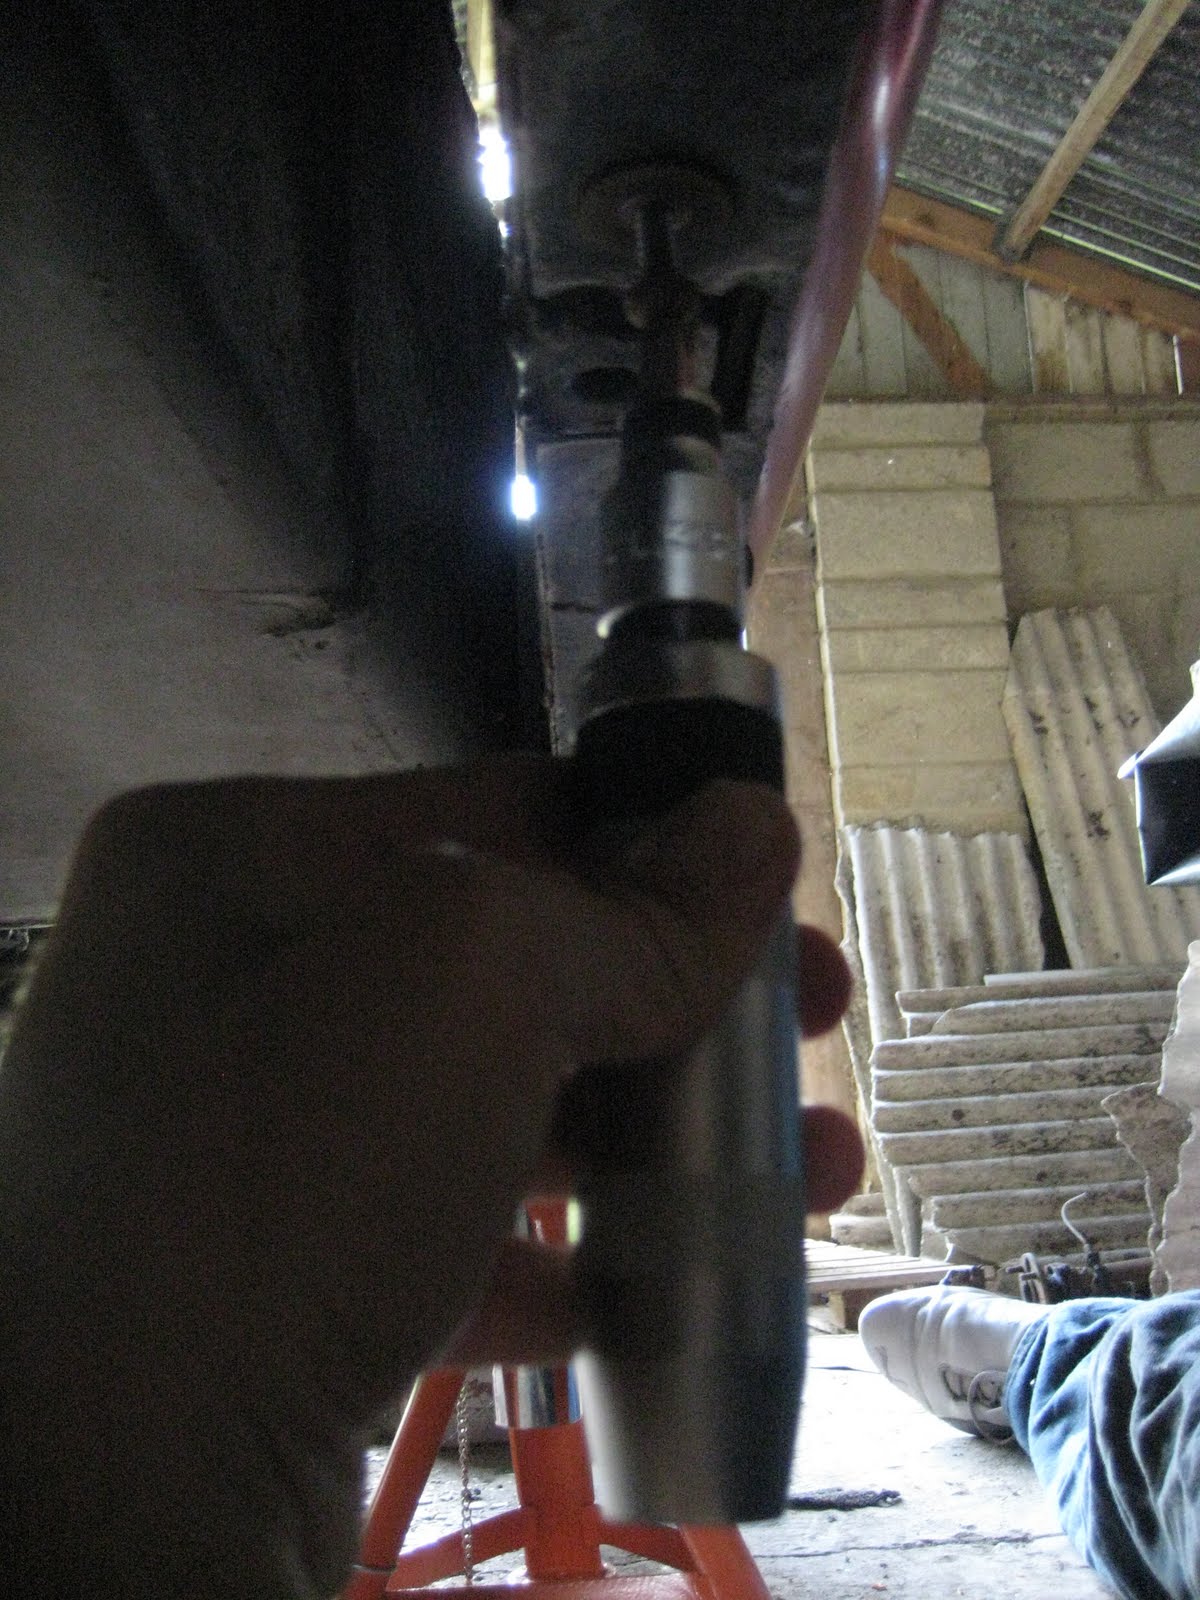
Well, that is all for now, also interesting to find that I have either a Cortina or Escort rear axle!! as the gubbins are fitted from the front rather than on the back of the unit! I need to source a 'wide configuration' 3.09 axle if possible?
Gazza